The wrist is one of the weaker parts of the body, and it is prone to injuries. Unfortunately, yoga wrist pain happens more often than you’d think. This is because some asanas put a lot of stress on the hands and wrists. This is especially the case in vigorous yoga practice styles such as Vinyasa or Ashtanga practices. The high frequency of yoga push-ups and planks, as well as the Vinyasas (Up-Dog, Down-Dog, Jump Backs, etc.), can lead to overload, strain, and eventually, injury.
Sometimes, the more wrist-dependent yoga poses offer opportunities to strengthen the wrists. And keep in mind that for beginner yoga students, wrist pain might sometimes simply be soreness. This will change once they’ve developed a steady practice.
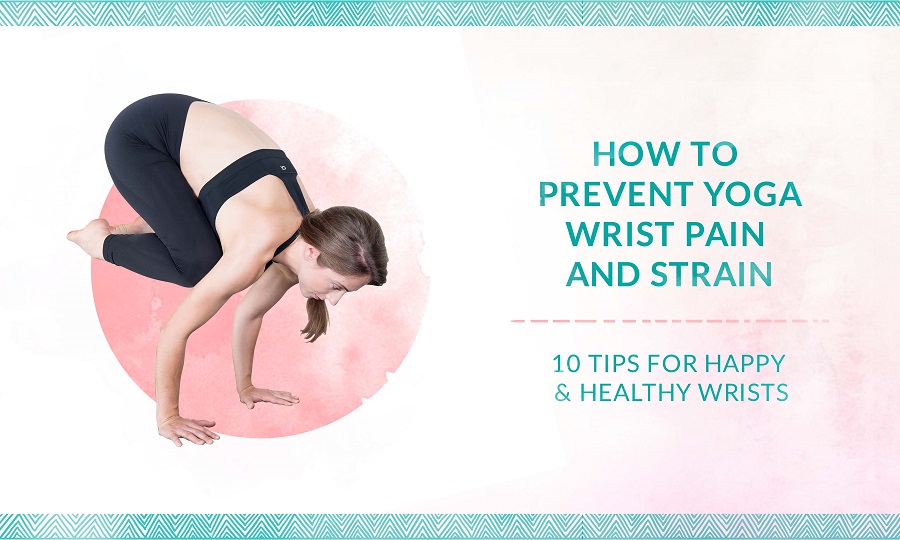
If certain yoga poses are not done safely, they can also lead to wrist injuries and chronic pain. When the wrist is extended, it puts stress on all the soft tissue, especially the tendons. This extended position of the wrist happens in the Plank Position, push-ups, and hand balancing postures such as the Handstand Pose and the Crow Pose for example.
Even typing on the keyboard with hiked wrists (your wrists should be completely neutral) can cause wrist issues like Carpal Tunnel Syndrome. In the case of typing, the stress is low but frequent. When it comes to postures and exercises that place weight on extended wrists, as in certain yoga postures, the stress is high but infrequent.
People walk on their feet, not on their hands. When we load the wrists with our full weight, we need to allow for a certain adjustment period. Also, the alignment of the wrist and the right balance between strength and flexibility are important factors.
In other words, if we are using our hands as feet, such as in arm balances, planks, and Downward Facing Dog, we need to give them a chance to get stronger gradually. To prevent yoga wrist pain in us and others, it is helpful if we understand what to look out for.
How to Prevent Wrist Pain in Yoga: 6 Simple Tips for a Pain-free Yoga Practice
1. Warm-up Gently Before Placing your Full Weight on your Wrists
It may sound logical, but many overlook this simple advice. Warming up is a necessity for all of us. However, as we get older, or if we have a history of wrist issues, we must warm up even better. Warming up not only improves lubrication of joints but also relaxes the adjoining muscles and improves the local blood flow. It also prepares your body for physical stress. The classical Sun Salutation is a very effective way to ensure that your body and your wrists are warmed up properly. You need to move on to bearing your full weight on your hands.
2. Strengthen and Lengthen the Muscles Surrounding the Wrists
Healthy wrists are strong, yet flexible. When the muscles around your wrist joint are balanced, it considerably reduces the risk of sprain, strain, or fracture. Slow and controlled hand-balances such as the Easy Crow Pose are a helpful way to build up strength and flexibility in the wrists.
3. Be Mindful and Evenly Distribute your Weight
Avoid placing too much stress on the heel of your palms or bending the fingers. You may need a bit of practice to do it the right way. Think about pushing the heel of your palms as well as all your knuckles and fingertips equally into the ground.
4. Spread your Fingers and Grip the Floor

In hand balancing postures, spread your fingers and think about lightly gripping the floor (without bending the fingers, though). Your hands need to be able to adjust to the constant micro weight-shifts that happen when you balance on them. The technique of spreading the fingers and lightly gripping the floor is essential to building up this sensitivity, and at the same time, it protects your wrists.
5. Strengthen your Core
If our core is weak, we have the tendency to shift the weight too much forward and to lean into the extended wrists. We lean away from the weak core and therefore end up creating even more extension in the wrists. By strengthening your core, as well as other large muscle groups that need to be active and well-coordinated in planks and hand balances, you will greatly reduce the risk of wrist strain.
6. Listen to Your Body and Take it Slow
One of the most significant reasons for wrist injuries & strain is over-enthusiasm. Most wrist injuries in yoga classes occur when beginning students want to do all the asanas and exercises correctly the very first time. It is imperative to listen to your body and remember that the wrists need time to adjust to the new challenges.
Get a free copy of our illustrated e-book 4 Surya Namaskara Variations for Vinyasa Yoga
Tips for Yoga Teachers: Treat Wrist Pain with These 4 Effective Techniques
Continuing the topic, given below are some of the more advanced tips. These 4 alignment cues are valuable for seasoned yoga practitioners and yoga teachers.
7. Inner and Outer Spiral
Creating two opposing spirals is a technique that increases the ability of shoulders, forearms, and wrist joints to bear weight. By grounding the index finger and thumb of the index finger and thumb as well as the knuckles of the index finger, think of creating an inward spiral with the hands on the mat. Once you have that connection with the ground, think about moving the inside of your elbows forward in an external spiral.
8. Strengthen the Shoulders and Chest
When our shoulder joint is restricted due to tightness in the surrounding tissues it will affect how we place the hands on the floor and therefore on the wrists. Working on shoulder and chest flexibility is highly recommended in these cases. Poses like Gomukhasana, Ushtrasana and Matsyasana are very effective.
9. Stretch the Shoulders and Chest
Similarly, the lack of strength in our shoulders and chest will make us lean into the lower joints and create unhealthy pressure. Hand balances and a vigorous series of Chaturanga Dandasana, Up-Dog, and Downward-Facing Dog are not a walk in the park' for most of us. Therefore, do not rush into the full poses, especially with beginning students. Offer variations in which the entire body weight is not involved. Also consider doing shoulder, arm, and chest strengthening exercises that are easy on the wrists, such as the dynamic Dolphin.
10. If Necessary Elevate the Heel of the Palm

Yoga students with a pre-existing wrist condition or generally tight and sensitive wrists can benefit greatly from using some support under the heel of the palm. You can ask them to fold their mat or a blanket and place the support under the heel of the palm. The fingers and the thumb remain unsupported. The slight level difference that is created by doing so, allows the student to do the pose without going too deep into the wrist extension.
FAQs on Yoga & Wrist Pain
Here are some frequently asked questions related to yoga wrist pain and strain. These will give you a better idea about what causes wrist pain or injury during a yoga practice. It will also help you prepare better so that you can avoid such instances in the future.
Question #1 Does Yoga Always Cause Wrist Injuries?
No, yoga does not always cause an injury. Your wrist may get hurt or injured during a yoga practice if:
- You are a beginner learning an advanced pose.
- You are making a quick transition from one pose to another.
- You are distracted or overexcited during practice.
- Not following the proper instructions or not practising in the right setup.
- You have had any prior injury or a condition like arthritis.
Question #2 What are Some of the Common Yoga Poses that can Cause Wrist Pain or Injury?
Usually, it is the weight-bearing poses that lead to wrist pain or an injury. In addition to the poses mentioned above, here are some other common yoga postures that stress the wrists. As such, these poses (or their variations) should always be practised with caution.
Weight-bearing Arm Balancing Poses
- Bakasana (Crane Pose)
- Eka Hasta Bhujasana (Elephant’s Trunk Pose)
- Mayurasana (Peacock Pose)
- Tolasana (Scale Pose)
Weight-Bearing Backbends
- Chakrasana or Urdhva Dhanurasan (Wheel Pose or Upward-Facing Bow Pose)
Question #3 Should I Use Props to Prevent Wrist Pain and Injury?
If you are wondering how to protect your wrists during yoga, then using props is one of the recommended ways. Yoga props are designed to let you reach the ground more easily and without stretching your wrists too much. It also helps to keep the wrists in a neutral position and reduces the pressure on your wrists during practice. In the meanwhile, ensure that your core muscles and spine get adequately stretched and strengthened.
Question #4 Can I do Yoga if I Have a Wrist Injury?
Having a wrist injury does not mean you cannot do yoga. You can try a more relaxing Restorative Yoga sequence, or go for a modified version of a Vinyasa flow or Hatha Yoga session.
It is important to seek proper medical advice before you begin your advice. Also, share the details with your yoga teacher so that he/she can help you decide on the best practice.
Question #5 Is Yoga Good for the Wrists?
Yes, it is. Yoga helps to stretch and strengthen the wrists. But, as already mentioned, many of the poses put pressure on the wrists. So, you have to maintain the correct alignment and keep a balanced pressure when doing these yoga asanas. (Remember, it’s not just the wrists but also the arms and shoulders that need to be aligned.) Moreover, keep doing regular wrist exercises, and follow the 10 tips that we have shared above!
As explained, the wrist is prone to injury in yoga as some asanas place a lot of strain on the hands and wrists. Vinyasa or Ashtanga practices are especially vigorous styles of yoga. Yoga push-ups and planks, as well as Vinyasa, poses (Up-Dog, Down-Dog, Jump Backs, etc. ), can cause overload, strain, and eventually injury as discussed here. That is why you must take precautions and practice the techniques found here.
Get a free copy of our illustrated e-book 4 Surya Namaskara Variations for Vinyasa Yoga