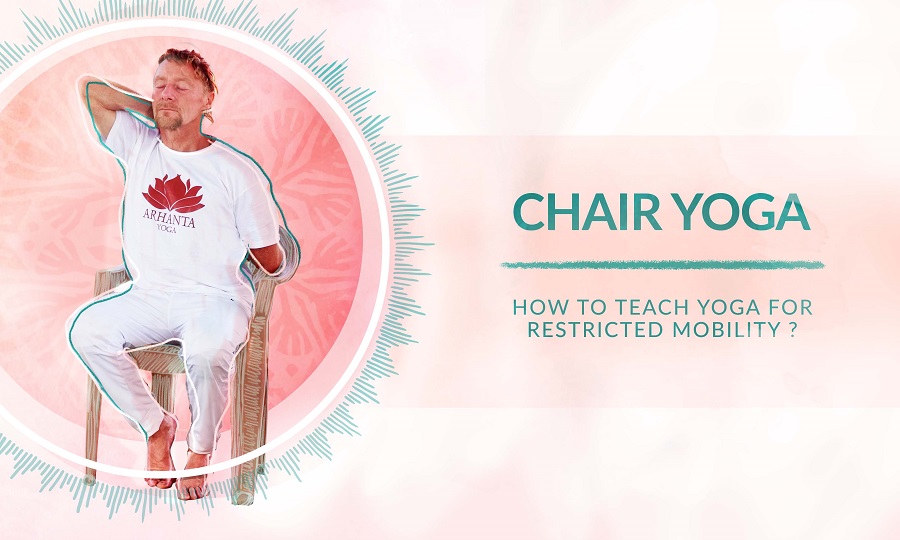
One of the great benefits of yoga is its accessibility for different levels of people with restricted mobility. It is truly beneficial that Chair Yoga can be used as type of yoga for seniors. For this group, Chair Yoga offers a large range of possibilities following guidelines of a yoga for seniors sequence. Do you want to teach yoga to people with restricted mobility, yoga for elderly people or yoga that is accessible to people with disabilities?
Chair Yoga Features and Benefits
Maybe the first thing that comes to your mind when you think of Chair Yoga is a group of elderly people. Indeed, Chair Yoga can be packaged as yoga for seniors.
However, what is old? Some elderly people have great mobility and strength, allowing them to attend regular yoga classes. Some younger people, on the contrary, have health issues or limitations that prevent them from moving like other people of their age. Therefore, keep in mind that Chair Yoga is mainly aimed at people with very restricted mobility. Yoga for seniors is thankfully a reality.
Differences Between Chair Yoga and a Regular Yoga Class
A Chair Yoga class is different from a regular yoga class in several ways:
- The class moves at a slower pace than regular classes.
- The exercises are very gentle, putting less strain on joints; the chair is used as support, which is also of great help in the case of balance issues.
- Chair Yoga can be offered in different settings. Apart from yoga studios, it is suitable for elderly’s homes, community centers, health centers, or rehabilitation centers.
- The class should not be too long, since a large part of the audience may be limited in energy (both mentally and physically). A suitable guideline for a yoga sequence for seniors class is 45-60 minutes, including initial and final relaxation.
- The size of the group should remain small (10-15 people). However, with assistance, you could teach bigger groups.
- As a teacher, it is important to have a lot of patience. When you are teaching yoga in elderly’s homes or community centers, the people may talk during class. They may also need more time to understand your instructions if they have cognitive disabilities.
How to Teach Chair Yoga or Yoga with a Chair
Framework Chair Yoga Class (45-60 minutes)
Keeping the guideline and goal of a chair yoga for seniors sequence in mind, below is a 45-60 minute sequence you can use as a framework:
Start with some adjusted breathing exercises:
- Kapalbhati at a slow pace. Do 2-3 rounds of 20 exhales. This will benefit abdominal strength and bowel movement. If Kapalbhati is too strenuous (be especially careful with people suffering from any cardiovascular issues, such as hypertension) you can ask your students to simply practice slow exhalations.
- Anulom Vilom, easy alternate nostril breathing (without retention in this case). Breathe in through one nostril 4 counts, breathe out through the other nostril 8 counts and keep alternating.
- Slow exhalations counting 4 to inhale and 8 to exhale. Gradually increase the counts for exhalations to 12 and 16. This has a calming effect on the nervous system.
- Abdominal breathing
Proceed with a few micro-exercises for 15 minutes, gently mobilizing the body
- Eye movements: Finding a steady sitting position with the neck elongated students move their eyes without moving. Instruct students to move the eyes up and down, left to right, diagonal, and in circles.
- Neck movements: Start by sitting up straight, with the shoulders kept low. Then instruct students to move their head, in coordination with the breath. Looking up and coming back to the center, looking down and coming back to the center. Then looking over to the right and left shoulder, and finally bringing the ear to one shoulder and then the other. Instruct students to move slowly and with their eyes open to prevent dizziness.
- Shoulder movements: Instruct students to sit up straight with their chest wide. Ask them to move the shoulders up and down, forward and back, and in circles. Keep encouraging students to breathe from abdomen.
- Hand movements: Tell students to imagine they are holding a ball, or if available, give them a soft light ball. With the (imaginary) ball between the hands, instruct them to make circles clockwise and anticlockwise, and then push-and-pull movements. You can also let them make a fist and then stretch the fingers or make wrist circles.
- Hip movement: Start in a seated positing at the front of the chair, with the spine elongated. Ask students to lift one leg up and down, bend the knee and bring it towards the chest. Repeat both options 6 times each side. Students can hold on to the armrests or sides of the chair. But you can also make them try this without the hands for more core activation.
- Knee movements: Seated in front of the chair, and this time stretch the leg while lifting it up and releasing. The foot should remain relaxed.
- Ankle movement: start on one side, then do the other. Lift the heel off the floor and release. Then flex and point the foot. End with ankle rotations, 6 times each side.

Experience authentic Hatha Yoga
Get free access to exclusive guided lessons with master teacher Kalyani Hauswirth-Jain
Chair Yoga for Seniors
In the next part of the Chair Yoga for seniors, move on to some coordination and strength exercises, which will take about 15 minutes
Instruct students to:
- Stretch the arms sideways, drawing big circles.
- Hold an (imaginary) ball, circling away from the body and back in the front.
- Place the hands behind the back of the head or crossed in front of the chest, twisting in both directions.
- Row the boat, moving the upper body and arms.
- Squeeze the hands, imagine pressing and releasing a ball with the palms facing each other.
- Squeeze the buttocks, contracting the muscles and release.
- Stand up and sit down, holding the armrests or crossing the arms in front of the chest.
- Place the ankle over the opposite knee and, if possible, bend forward for a hip opener.
- Perform seated Single-Leg Raises: Sit in the front part of the chair, activate the feet and leg muscles and stretch the leg forward, lift it up parallel to the floor and release.
- Work on core stability: Sit up straight and then lean slightly backward, and back to the center. Then lean slightly forward and come back to the center.
The last part of the yoga for seniors class is dedicated to some Chair Yoga asana (15 more minutes)
- Seated Mountain: Lift the arms with the palms touching or keep the hands in front of the heart
- Seated Cat Pose: Hold the armrests or the knees, and alternately hollow and round the back, using your breath.
- Seated Triangle: Reach up with one arm and to the opposite side, giving a nice gentle side stretch. Repeat to the other side too.
- Seated Half Twist Pose: Sit on the front edge of the chair, lengthen the spine, then place one hand behind the tailbone and one at the outside of the upper leg and twist to look as far behind you as you can.
- Seated Eagle Pose: Sit on the front edge of the chair, lengthen the spine, and place your hand in eagle position (with modifications if necessary). Repeat to the other side too.
- Seated Cow Face Pose: Sit on the front edge of the chair, lengthen the spine, and place your hand in cow face position (with modifications if necessary). Repeat to the other side too.
Using Chair Yoga Elements in a Regular Yoga Class
A chair is a very handy tool that can be used in regular classes to support students with mobility issues, injury or chronic condition. A student might be able to do a gentle Sun Salutation and some supine and prone postures but might struggle with seated postures and forward folds. In this case you can use a chair and make regular yoga classes more inclusive and accessible to everyone.
Below you can find a sample class for a regular Arhanta Yoga Basic Sequence, adjusted to a student with severe back issues (multiple hernias):
- Easy Sun Salutation: Start with the feet wide. Step back with one leg, place the hands on the floor and go to all fours. Then make a cat/cow movement. Step forward with one leg, and then the other, with the feet hip-width apart again. This is the same variation as often used in pregnancy yoga.
- Headstand variation: Child’s pose with support under hips and head, so that the spine is elongated instead of headstand, Shoulderstand Pose: Supported Shoulderstand Pose, with the feet propped up against the wall.
- Instead of Plough Pose, bring your buttocks against the wall and let the legs rest against the wall.
- Half Bridge Pose, two options: Use a small support under the hips or ask the student to do the dynamic version, moving the hips up and down with the breath.
- Fish Pose, with a cushion supporting the upper back and neck.
- Cow Face on the chair, as described above
- Seated Forward Bend, seated on the chair with the spine long and the legs stretched out in front, gently bending forward, or standing and using the chair as support
- Easy Table Pose instead of Inclined Plane Pose.
- Backbends on the belly, such as Classical Cobra Pose and Bow Pose, can be substituted with Yin Yoga versions such as the Sphinx and Seal. Remind students to stay with 70% of their mobility in order to avoid any risk.
- Half Spinal Twist, seated on the chair, as described above.
- Triangle Pose, seated on the chair, as described above.
- Tree Pose, while holding the backrest of the chair.
- Seated or standing Mountain Pose
Conclusion
Teaching Chair Yoga and offering chair variations in a regular class is a very satisfactory way to teach. You can really make yoga accessible for people who’d otherwise probably would never step into a yoga class and help them reconnect with their bodies again. This is a group that may experience a great degree of insecurity, especially when it is their first time doing yoga. Over time, people may learn to trust their bodies and discover their possibilities in a new way. You, as a teacher, can guide them through this process.

Experience authentic Hatha Yoga
Get free access to exclusive guided lessons with master teacher Kalyani Hauswirth-Jain

